Celebrate Braille Literacy with Tactile Greeting Cards
January is National Braille Literacy Month, and what better way is there to celebrate than by sharing your love of braille with family and friends? In this blog, you’ll learn how to make a braille tactile greeting card that can be enjoyed by everyone, regardless of their visual acuity.
Creating a Brailled Tactile Greeting Card for Your “Gnomies”
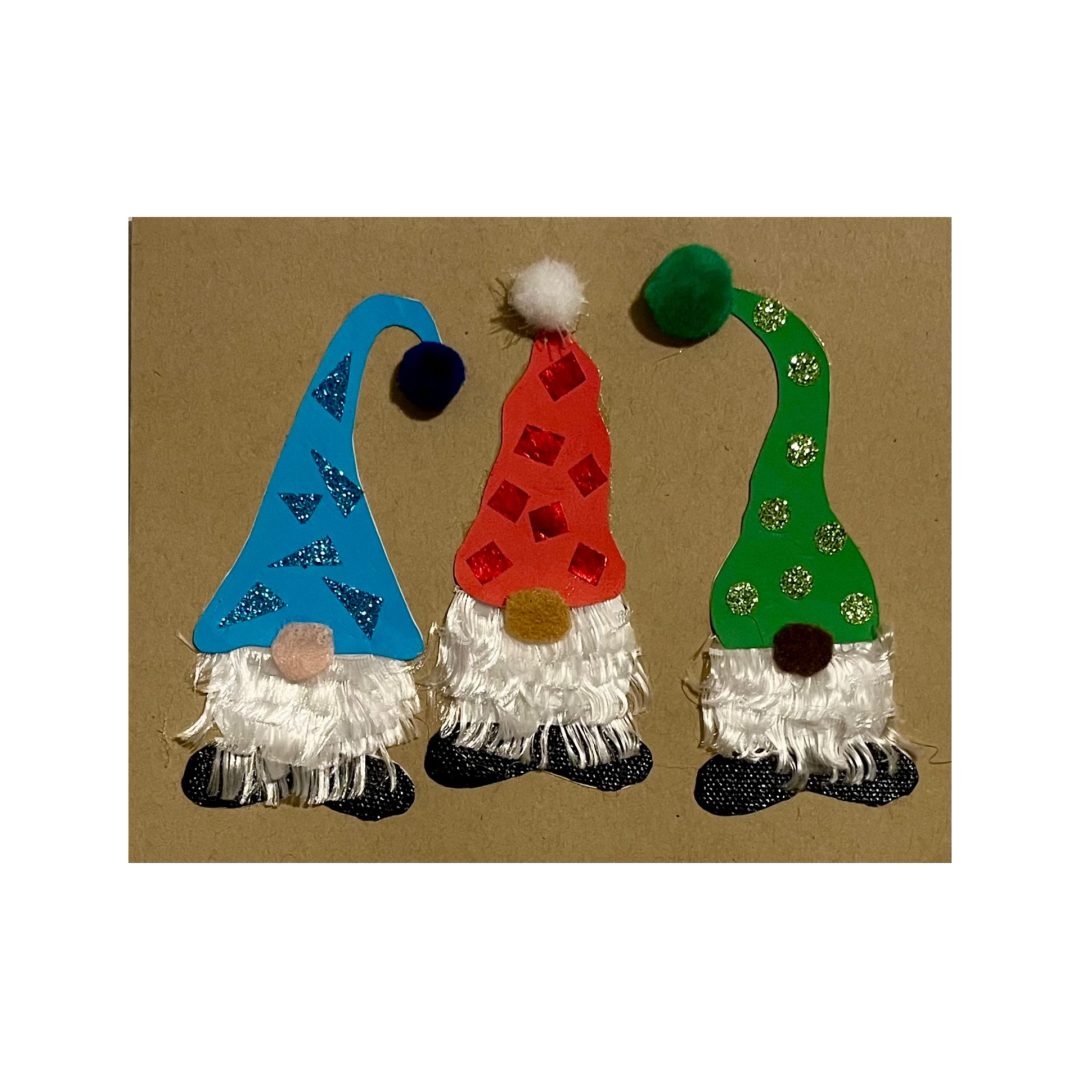
Description of greeting card
On this greeting card are three stocking-capped gnomes standing side by side. Each has a silky white “fun-yarn” beard, a felt nose, textured boots, and differently shaped and textured caps with pom-poms. The words “Happy Braille Literacy Month!” are printed and brailled on the inside of the card.
Kit components
- 1 5″ x 7″ folded card
- 3 plain cardstock gnome bases
- 3 textured, black “boot” pieces (each piece represents a pair of boots)
- 3 stocking caps in different colors (red, green, and blue)
- 3 strips of smooth and textured washi tape in red, green, and blue
- 3 felt “noses” (pink, tan, and brown)
- 3 pom-poms
- 7″ strip of fun-yarn, cut into 1″ segments
- liquid glue
- glue gun and hot glue
Instructions
- Cut a strip of smooth red washi tape into several ¼” squares and stick them to the red cap.
- Use hole-punch to cut textured green washi tape into several ¼” circles and stick them to the green cap.
- Cut textured blue washi tape into several small triangles and stick them to the blue cap.
- Place the folded card on the table, fold-side up.
- Use liquid glue to attach each gnome base to the card, with the boot section about ¾” from the bottom edge of the card. Space the gnome bases horizontally to your liking. You will use these bases as a guide when attaching the boots and the caps.
- Use liquid glue to attach each gnome’s one-piece pair of boots to the corresponding section on the gnome base.
- With a glue gun, apply hot glue to the circular section of the gnome base, above the boots. Be careful! Glue will be very hot.
- Carefully press the 1″ sections of fun yarn in rows onto this section. The beards should cover this lower, circular portion of the gnome bases. It’s okay for the “hair” to partially cover the boots and to go outside the edges of the gnome base.
- Use liquid glue to attach a decorated stocking cap onto each gnome base, matching the cap shape to the corresponding shape on the gnome base. The caps will partially cover the gnomes’ beards.
- Use liquid glue to attach a felt “nose” to each gnome, centered where the cap and beard meet. The nose should be halfway on the cap’s lower edge.
- Use a glue gun to attach a pom-pom to the tip of each gnome cap.
- Open the card and write “Happy Braille Literacy Month!” (or the sentiment of your choosing) on the inside-bottom of the card. Use a slate and stylus to braille these words onto sticker paper and adhere the sticker over the print words.
- Experience the joy that comes from sharing the importance of braille literacy in a fun, accessible way!
Share this article.
Related articles
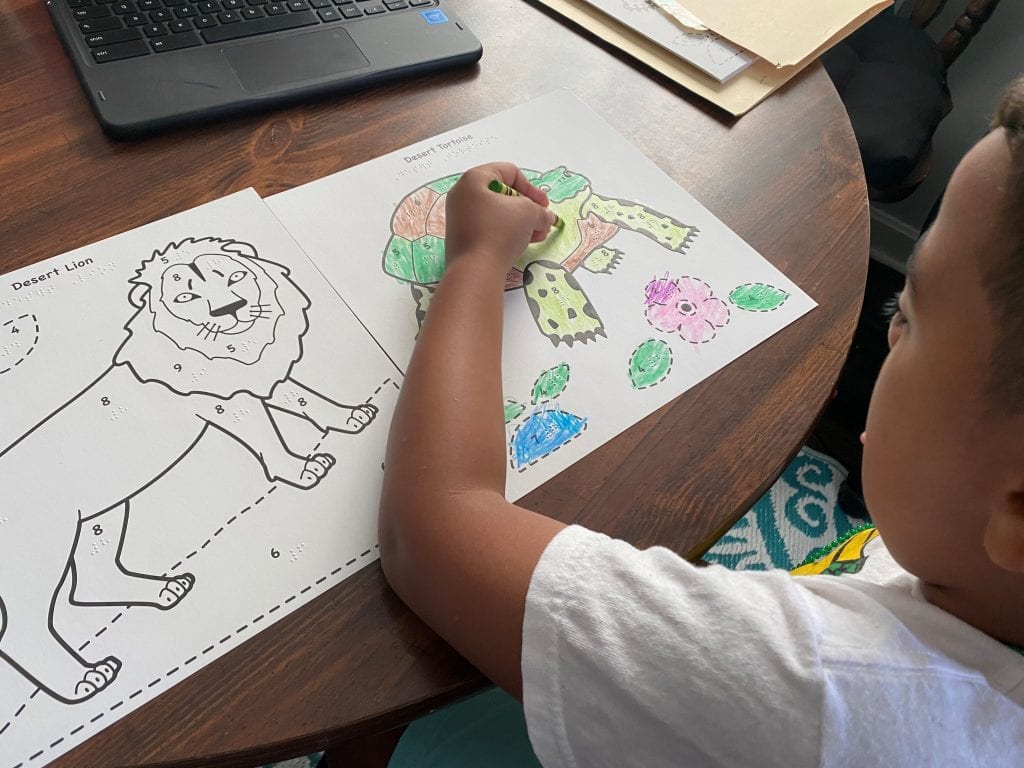
Enjoy Paint-by-Number Safari this Winter
Are you starting to go a bit stir-crazy? Maybe you are frantically trying to find fun activities for your children...
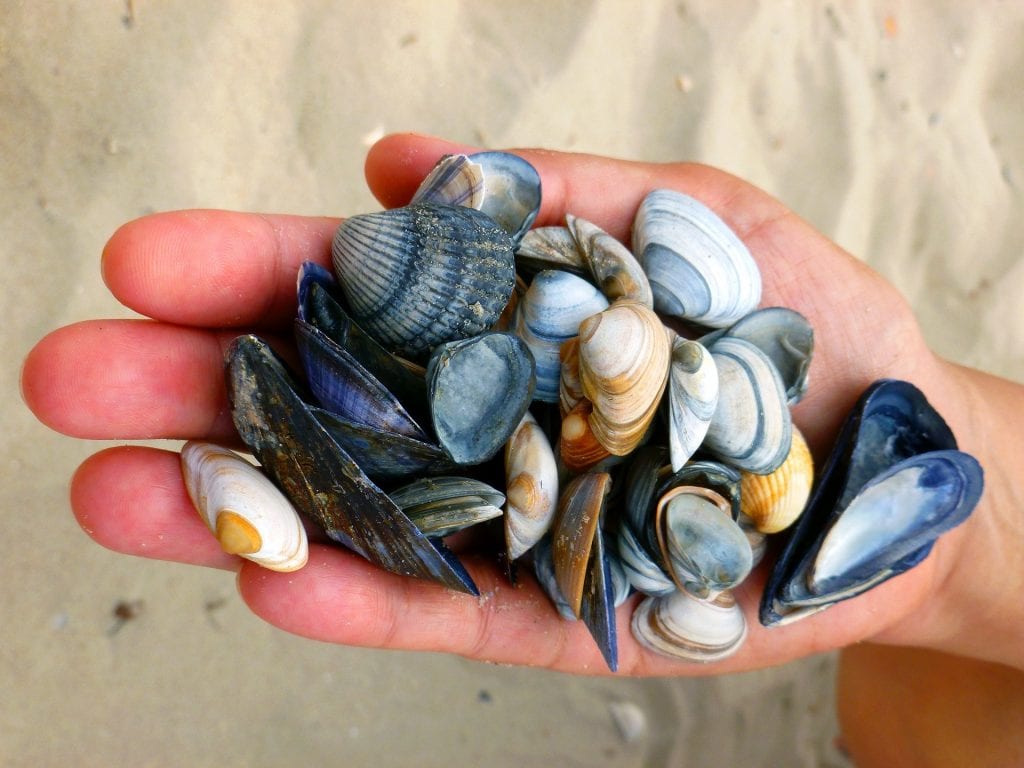
Shell Necklace
A fun way to show off what you found at the beach is to turn it into a necklace! This...