Shell Necklace
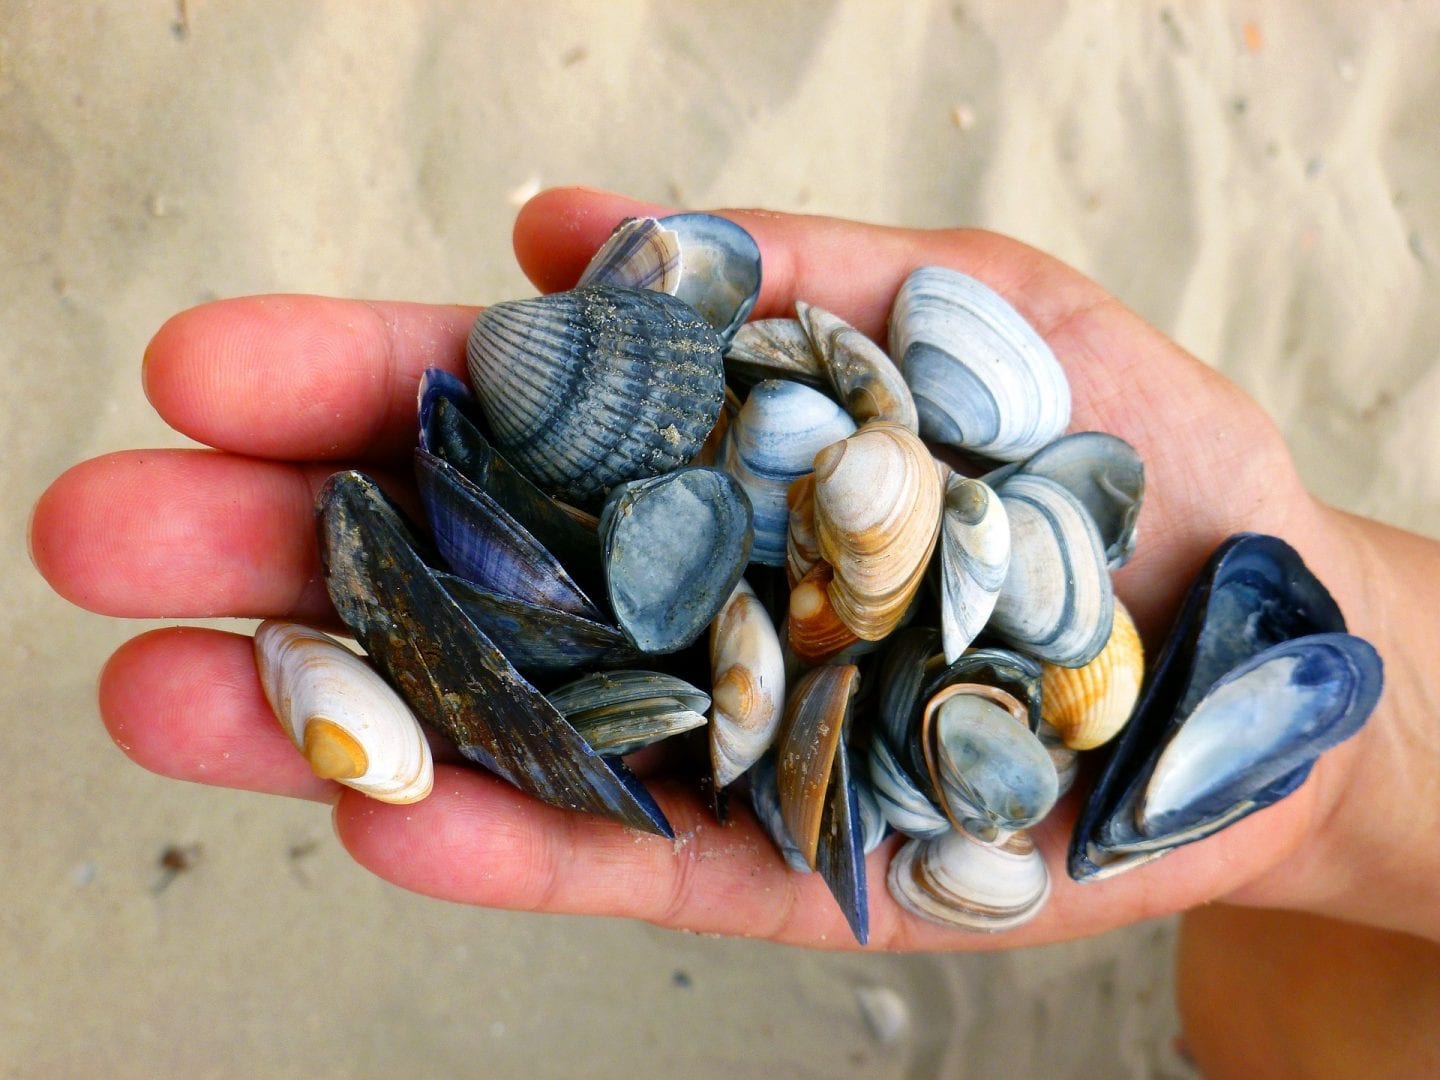
A fun way to show off what you found at the beach is to turn it into a necklace!
This activity is pulled from our Virtual ExCEL Camps happening summer of 2020! While these activities are written to fit into the larger lesson plan of the camp themes, you can complete them with your little one at any time. Learn more about our Virtual ExCEL Summer Camp here!
Appropriate Age Range: 5 years of age and up
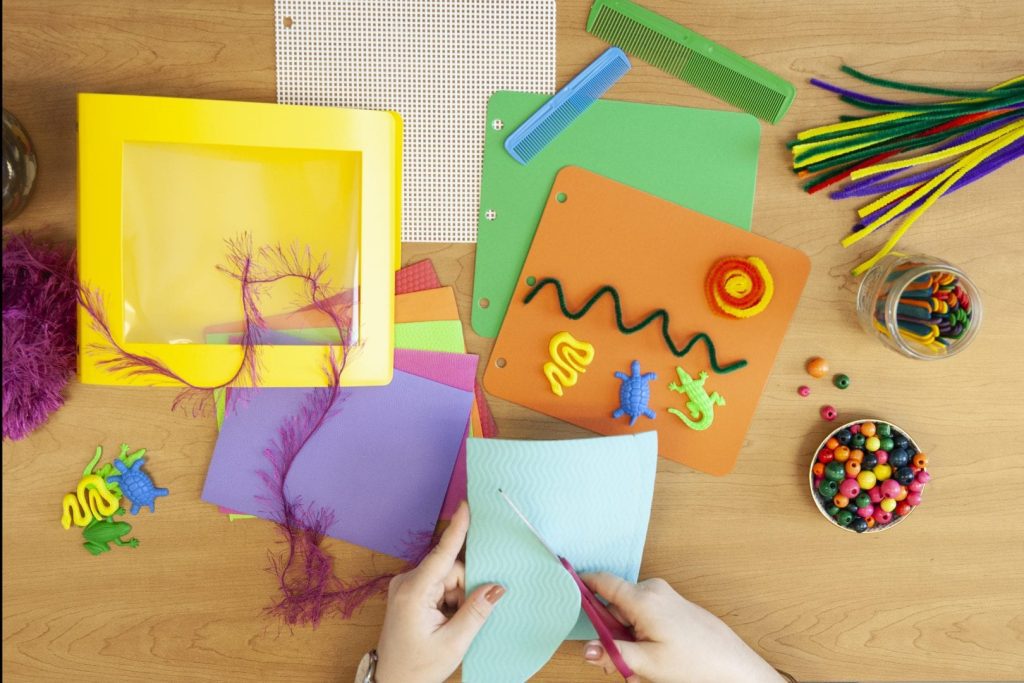
Materials Needed:
- Small items found on the beach like shells (whole or broken), rocks, sharks’ teeth
- 2 cups of flour
- 1 cup of salt
- 2/3 cup of water
- food coloring or paint
- a straw or stick to poke holes
- a piece of string, cord, or yarn.
Vocab:
Some of these terms may seem brand new so take some time to look them up and they will be part of your vocabulary too: pendant
Activity:
Once you have gathered all the materials, it is time to create your necklace. This recipe creates enough dough for 7 necklaces. First, you will need to make your salt dough. Mix flour and salt and then slowly start adding your water. If the dough seems too crumbly, you can add a ½ teaspoon of water. Then divide the dough into 7 portions. Next, you add a generous amount of food coloring or paint to your portions. Then roll each portion into a ball and place one item found on the beach in the center and press down. Make a hole to hang using a straw, stick, or chopstick. Do not make your hole too close to the edge of the pendant or it may break after it dries. Let dry: you can let it dry outside if it is hot and sunny or place the pendant on a baking sheet and heat in the oven at low heat for 2-2.5 hours or until firm to the touch turning every 10-15min. Also, be sure to “repoke” your hanging holes. As salt dough can spread and these can shut. The shells should stay securely; if not, you can always glue them in place afterward!
Outcome:
Once the pendant is cool and dry, thread up your shells with your string and you are ready to wear your seashell pendant! If you do not like wearing a necklace, you could make a bracelet instead. Or if you don’t like wearing jewelry, you can turn your pendant into an ornament to hang on a tree or glue a magnet on the back after it has dried.
Extensions:
Sensory bins/water play: Another way to play with those awesome treasures we’ve collected the beach is to create a sensory bin. The sensory bin can be small like a plastic storage container or as big as a kiddie pool. It can be explored indoors or outdoors depending on the weather. For an ocean-themed bin, take a bin or kiddie pool and fill with water, next add place shells, sand, beach toys, plastic sea creatures, fishing net, and finally let your child explore!
https://www.funathomewithkids.com/2013/07/babytoddler-beach-sensory-bin-with.html
Instructors:
Leslie McNeil, Teacher of Students with Visual Impairments
Leslie McNeil worked at the Georgia Academy for the Blind as a Teacher of the Visually Impaired. While there she was a camp instructor for summer camps and weekend camps. She also taught in the after school program for enrichment activities for students. Currently she is one of the Teachers of Students with Visual Impairments for Columbia County School district in Georgia.
Jessica Kaminski, Teacher of Students with Visual Impairments
Jessica Kaminski is one of the Teachers of Students with Visual Impairments for the Columbia County School district in Georgia. During her thirteen years of teaching, she has worked by providing extended school year services or as an instructor for Camp All-Stars for children with special needs.
Share this article.
Related articles
Tactile Book Builder Kit: Equipping Educators to Meet a Multitude of Needs
At APH, we strive to create products that assist both teachers and students with unique learning needs. The Tactile Book...
Connect the Dots
We are excited to announce our new family-based education series: Connect the Dots, powered by the PNC Foundation! Thanks to...

Holiday Traditions for All
The holidays are a great time for fun, family, and food. This time of year also includes many learning and...