Lessons in Labels
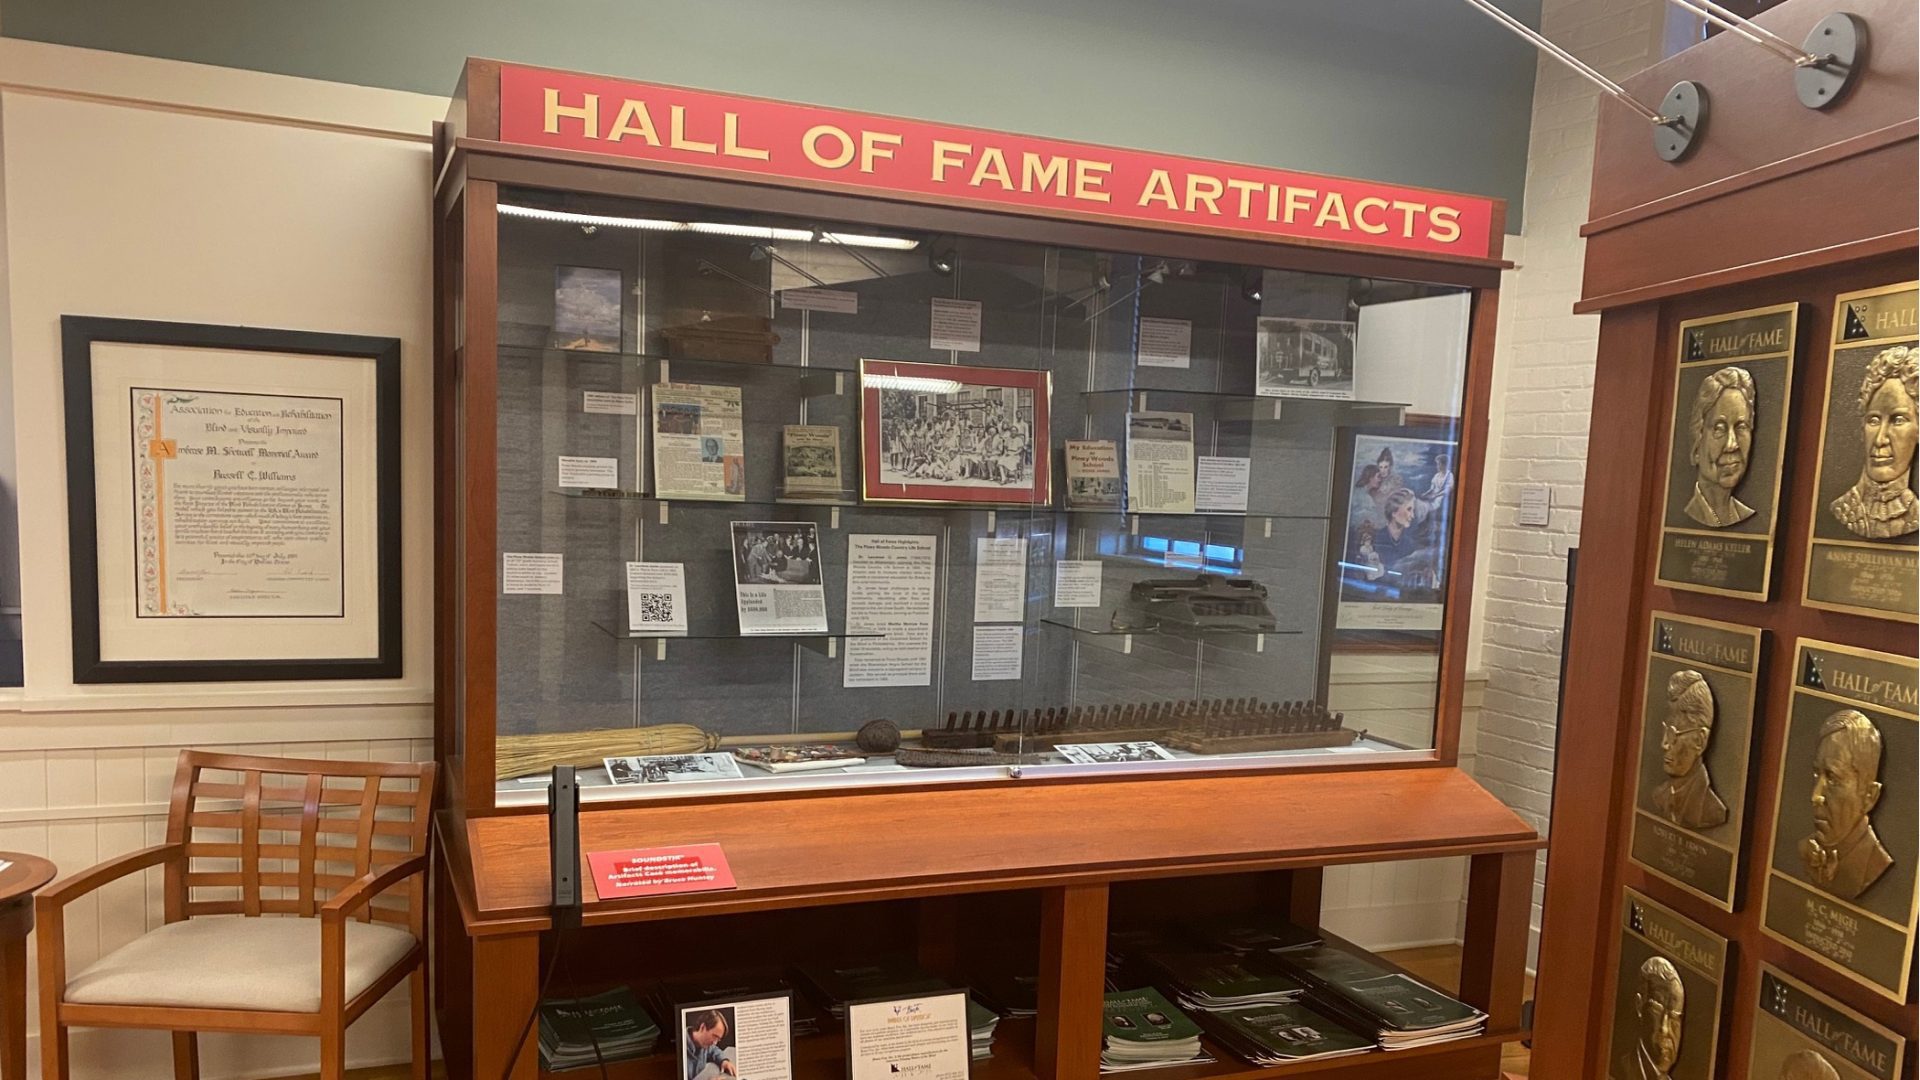
In my nearly 20-year career in the museum field, I have been a part of an exhibit team, helped locate artifacts to borrow on loan, located images for display and secured the necessary permissions, and supervised my interns’ curatorial projects, but I never had the opportunity to fabricate labels. This is probably because I worked in historic house museums where there tend to be no labels. So, as I was preparing to install a small exhibit in the Hall of Fame display case, our Museum Director Mike Hudson kindly showed me the ropes on the art of making labels.
To start we went down to the lower level of the building where a spray booth is located, complete with a built-in exhaust fan. Mike showed me how to spray on the adhesive and then carefully lay the paper onto the matboard. Once the printouts of the text were affixed (and after I washed my hands approximately six times getting most of the adhesive residue off my fingers), we went back up to the museum workroom where Mike demonstrated how to measure and leave just enough of a white border to be aesthetically pleasing. Fun fact: leave an extra 1/8” space at the bottom so the label doesn’t look top-heavy to the eye.
Then, gripping the utility knife, with a brand-new razor blade in place, I firmly pressed down and cut through my first label. Or so I thought. I lifted the mat board, but the label did not separate from it. The top was cut very cleanly, but the cut barely reached the backside of the board. I tried again, this time pressing as hard as my less than impressive arm muscles allowed, and the label separated from the matboard. Lesson learned: I needed to push down as hard as my arms would physically allow, and I would usually make a successful cut. My hand kept cramping up, so I had to take breaks after every few labels, but it was so exciting to see all of my research and writing take the shape of a proper museum label.
My arm was sore for the next four days (I wish I was exaggerating…), but it was definitely worth it. Once I had gotten a handle on the label texts, then I repeated the process with the various images for the exhibit. Researching, curating, fabricating, and installing the exhibit, then seeing the finished exhibit with the artifacts and images alongside their respective labels was such a fun experience.
Next up to learn: how to make exhibit mounts for artifacts.
Share this article.
Related articles
Running a Marathon: Moving a Museum Collection
With the Dot Experience at APH officially breaking ground, we have been incredibly busy behind the scenes preparing for construction...
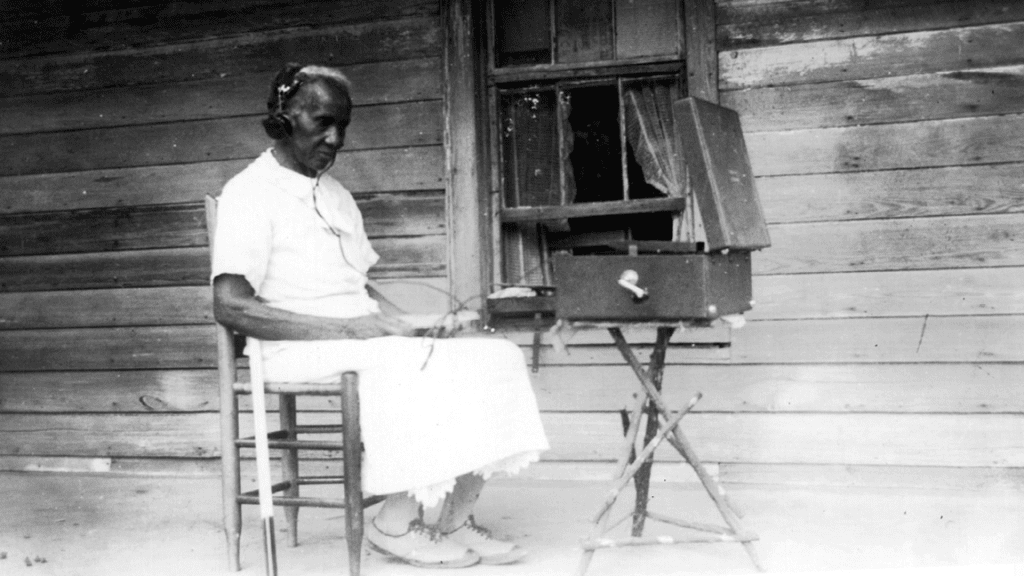
Finding Sadie
“The blind veterans here in the Helen Keller class are able, thru talking books, to obliterate the tedious hospital hours...
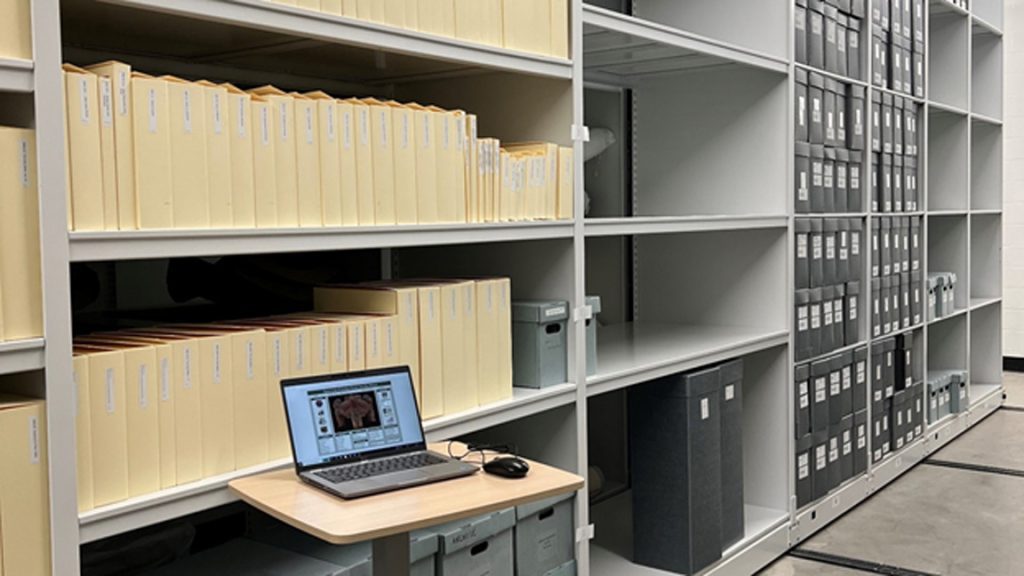
The Kentucky School for the Blind Alumni Association Archive
In 2020, the Kentucky School for the Blind [KSB] Alumni Association signed an agreement that gave the care of the...