Making Graphics for PixBlaster and PageBlaster

Tactile graphics are an important tool in the tactile literacy toolkit, and there’s so much to them that it’s hard to cover the topic completely in a single blog. However, anyone can learn the best practices for creating tactile graphics and even making them with PixBlaster and PageBlaster. Read on to learn about some important resources you can utilize in your quest to get better at making tactile graphics!
The Rules of Tactile Graphics
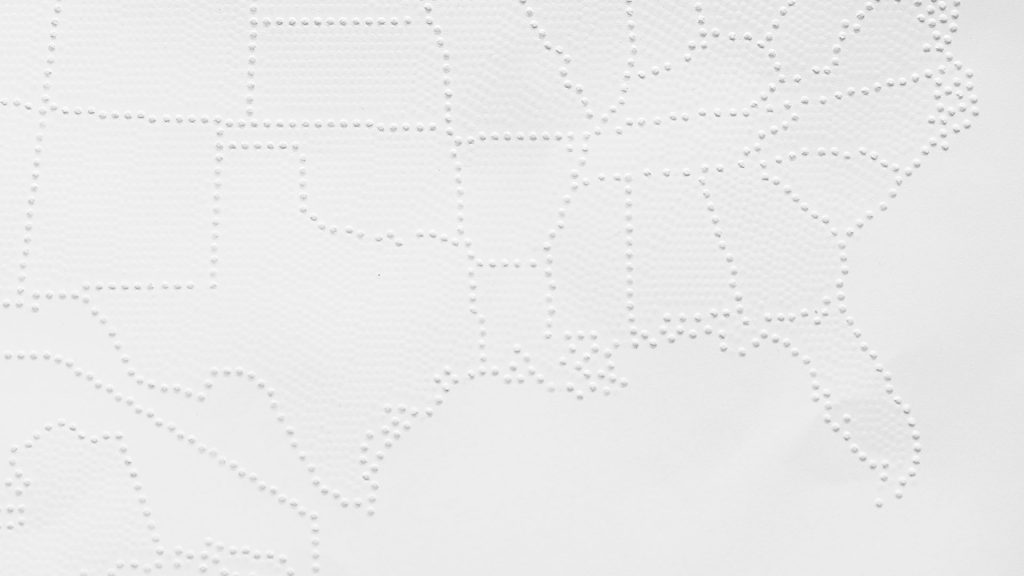
There are a lot of rules when it comes to making tactile graphics, too many to cover here. Know that the rules are clearly laid out in Guidelines and Standards for Tactile Graphics, 2010. That’s a big manual with a lot of rules you should familiarize yourself with, but the main takeaway is that tactile graphics are about simplicity. A complicated image will be too difficult to discern tactilely so you’ll want to simplify your image by really focusing on what is important about the image and not adding a lot of tactile “noise.”
TGIL
A good introduction to learning more about tactile graphics is by using APH’s own Tactile Graphics Image Library (TGIL). This free resource holds a lot of different tactile graphics that you can use as a starting point for your own unique creations. Download the graphic that will be useful to you, edit it, and then emboss it using your PixBlaster or PageBlaster!
The best part about the TGIL is that the examples it contains are a great way to familiarize yourself with what makes a good tactile graphic. Check out the examples provided and use that as a guide when you make your own graphics.
Tactile Graphics Software
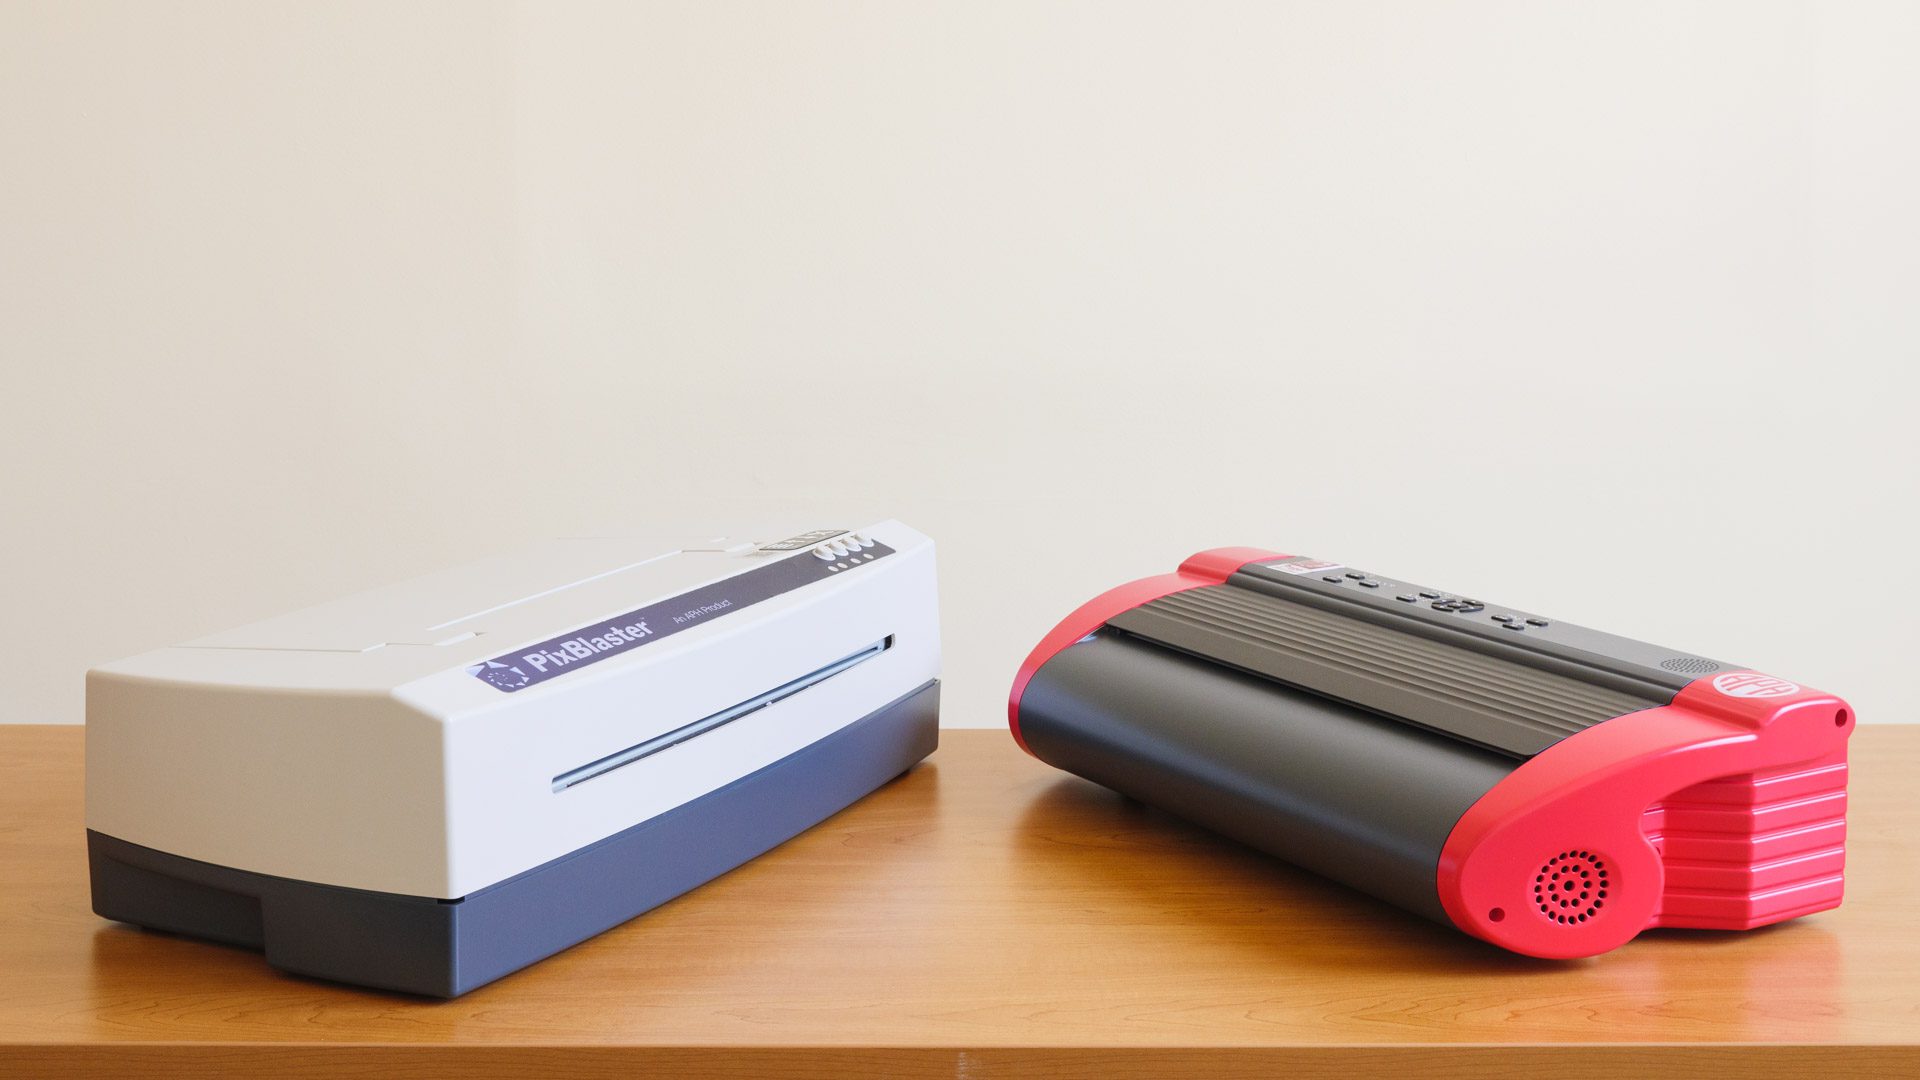
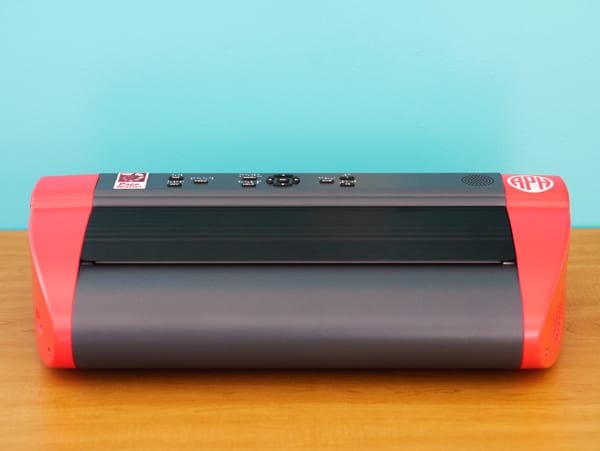
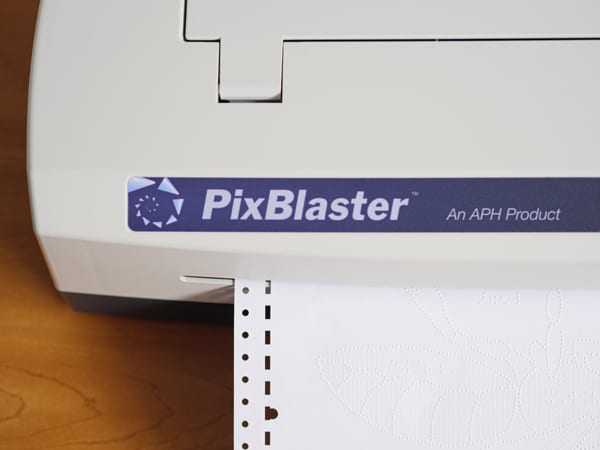
Each embosser uses its own software and has different tactile graphics capabilities. The PixBlaster makes multi-height tactile graphics and uses the Tiger Software Suite (TSS). The PageBlaster makes single-height tactile graphics and uses Firebird. Let’s focus on each embosser and learn the basics about making graphics using the different programs.
PixBlaster and Tiger Software Suite
With TSS, you’re primarily going to make your graphics using Tiger Designer. If you’ve used Paint in Windows before, you’re already going to be familiar with the basics of using Tiger Designer. You can add lines, shapes, and you can use a fill tool to fill your graphics with different kinds of tactile area textures. You can also add braille to your graphic using ASCII braille.
To get started with TSS, download it from ViewPlus. It’s also included on the thumb drive that comes with the PixBlaster embosser. Either way, what you install will be a demo, and each PixBlaster embosser comes with two licenses that allow you to access the full version. These licenses can be moved around, so if you need to return the embosser to your local resource center, the license can be moved too. To get your full license, register your PixBlaster at this website. Make sure you register soon after installing the TSS demo. The demo is good for 30 days and getting the activation code for your full license can take one or two business days.
Once you’ve gotten started with TSS, you can use it to create your own graphics, to open image files like jpg or png, and to open and edit PRN files, which are commonly used in creating tactile graphics. And don’t forget that your PixBlaster also supports embossing PDFs like the ones found in our TGIL.
For a more in-depth look at TSS, check out this TSS webinar.
PageBlaster and Firebird
PageBlaster uses a drawing software called Firebird. You can download Firebird at this link, and an installer is also available on the thumb drive that came with your PageBlaster. Unlike TSS, Firebird does not need to be activated and once installed is ready for use.
Like Tiger Designer, Firebird functions similarly to Paint. It has draw tools to make shapes, create textured fills, and you can also add braille labels using ASCII braille. You can create a new file and start drawing or import your own image files or PRNs. Once you’re happy with your creation, just send it to your PageBlaster to be embossed by going to File and then Emboss.
For a more in-depth look at Firebird, check out this Firebird webinar.
Conclusion
There’s a lot to know about making quality tactile graphics and getting the most out of the different programs available for your new embosser. But never fear- it’s not too late to learn the basics. Get the software installed, watch some webinars, and start embossing today! Waste a little paper if you have to and with a little bit of practice, you’ll be making graphics quickly and easily with your PixBlaster and PageBlaster!
And for a quick overview of both embossers’ capabilities and more about the TGIL, check out our Getting the Most out of your PixBlaster and PageBlaster webinar.
Share this article.
Related articles

Announcing the PageBlaster Extended Warranty
Extended warranties are now available for PageBlaster embossers. Created through a partnership with HumanWare, this powerful embosser for continuous fanfold...

Attention: Tiger Software Suite is Upgrading!
If you own a PixBlaster embosser, you are probably already familiar with Tiger Software Suite (TSS) since your embosser came...

APH Behind the Scenes: How Tactile Graphics are Made
Tactile graphics make visual concepts accessible by providing tactile representations of maps, diagrams, and graphs to people who are blind...
